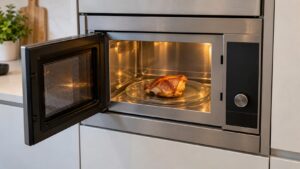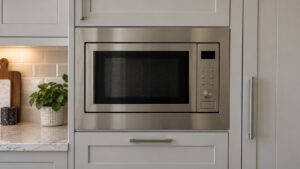
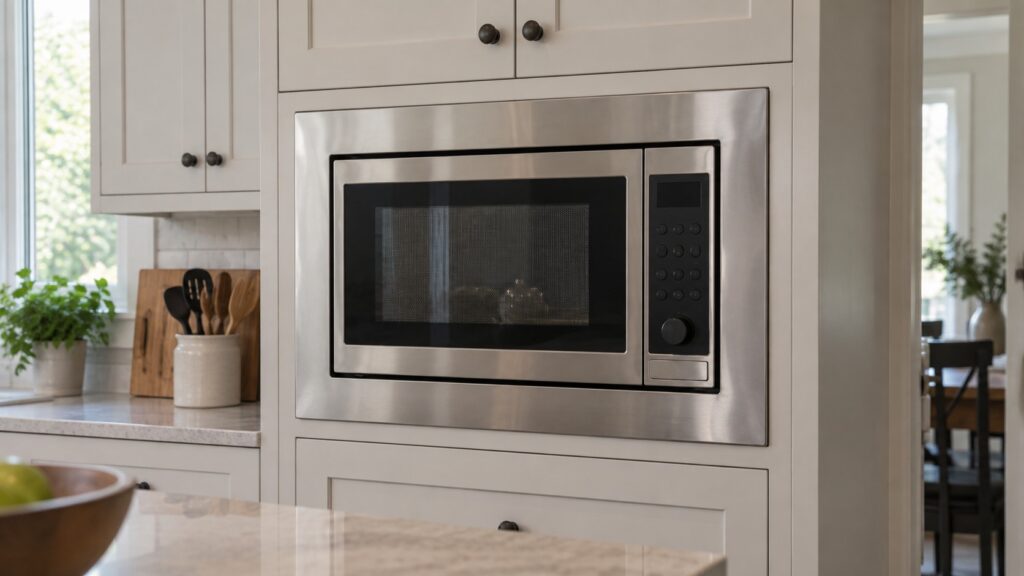
TL;DR: The Jenn-Air JMC2430IL is a RISE 30-inch built-in microwave oven with Speed-Cook convection and a built-in trim kit design. Installing it is mostly preparation: an opening that matches the Jenn-Air JMC2430IL installation sheet, a grounded outlet on the circuit the instructions call for, a solid support surface, and room around the cabinet for air to move. Fit the trim last so it sits flush, and run a short test before you rely on it.
What kind of microwave is the JMC2430IL?
It is a built-in unit, not a countertop model and not an over-the-range microwave. A built-in microwave lives inside a cabinet or wall run, usually at a comfortable height near a wall oven, and it is framed by a trim kit so the front looks like part of the cabinetry. The JMC2430IL also has Speed-Cook convection, which adds a fan and a heating element so the oven can brown and crisp as well as heat food with microwaves, and a sensor reheat feature that adjusts time from the steam the food gives off.
Those extras matter for installation, because a convection microwave produces more heat and needs more airflow than a plain microwave of the same size. It is the reason the opening, the clearances and the circuit are specified in detail, and why a casual shelf will not do.
What does the cabinet opening need to be?
Work from the installation sheet for your exact model, because trim kits and cabinet cutouts come in specific dimensions: width, height and depth, plus a required distance from the floor, the countertop and nearby cabinets. A 30-inch rating describes the unit, and the opening is a separate set of numbers. Check all three before the cabinet is cut, and check them again when the microwave arrives.
- A solid support surface. The unit is heavy and the floor of the opening must be level and sturdy. A sloping or flexing shelf shifts the microwave and strains the door alignment.
- Space behind and above. The cabinet should leave room for air to leave the unit, and the instructions list the clearances.
- A route for the cord. The outlet position is part of the plan; a cord pinched behind the unit is a hazard.
If the microwave is going next to a wall oven, check how the two openings line up, because the trim is designed to give them a continuous look. Our wall oven installation and setup guide covers the neighbor.
What power does a built-in microwave need?
A grounded outlet that matches the rating plate and the installation sheet. Microwaves draw a lot of power in a short time, and a convection model more, so the circuit should not be shared with a toaster, a coffee maker or other heavy loads. The instructions state whether a dedicated circuit is required, and they take priority over any general advice. Never remove the ground pin, never use an extension cord and never run the cord through a hole in the cabinet where it can be pinched. If you do not have the right outlet, an electrician should install it before the microwave goes in.
How do you set the microwave and fit the trim kit?
- Confirm the opening against the sheet, and dry-fit the support if one is required.
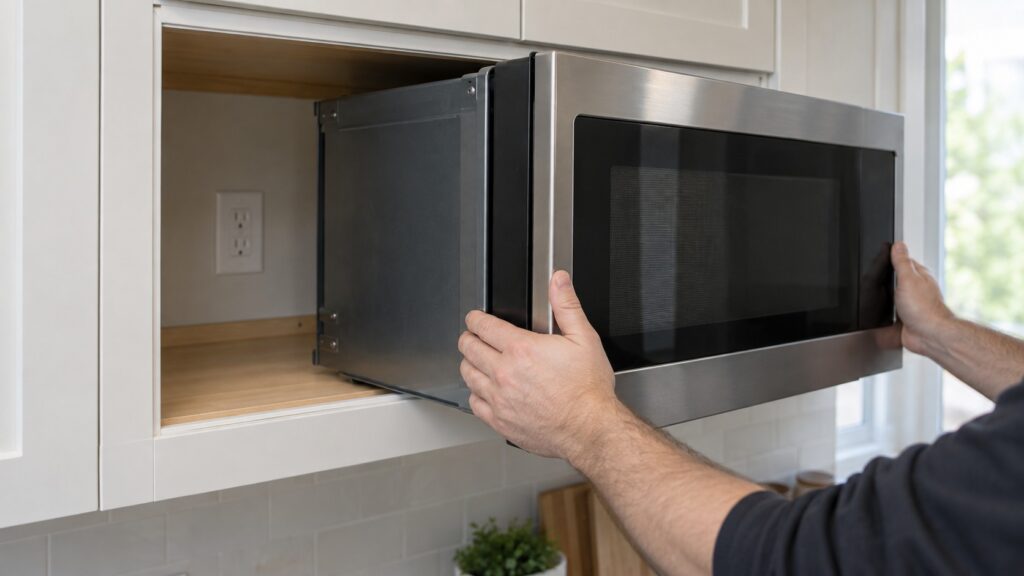
- With a helper, lift the microwave into the opening. It is heavy and awkward.
- Plug it into the grounded outlet only after it is in position, keeping the cord clear of the back.
- Check that it sits level and square in the opening, adjusting as the instructions direct.
- Fit the trim kit pieces last. The finished trim should sit flush with the cabinet face with an even gap all round; if the gap tapers, the microwave is not square.
- Remove packing material, including tape and foam inside the cavity.
Which installation mistakes cause the most trouble later?
Three come up again and again. The first is a cabinet opening cut to the width of the microwave instead of the dimensions on the sheet, which leaves no room for the trim or for air. The second is an outlet placed where the cord has to bend sharply behind the unit, which stresses the plug and heats the cord. The third is a support shelf that is almost level: the door then sits slightly crooked, the trim gap tapers, and the seal around the door does not meet evenly. All three are cheap to avoid before the microwave is in and awkward to correct after it is.
What should you test on day one?
Close the door and check that it latches firmly and does not bind against the trim. Set the clock, then run a short heating test with a cup of water and listen for steady fan noise. Run a brief convection cycle empty, as the instructions describe, with a window open, to burn off factory residue. If a fault code appears, write it down and check our microwave code pages before assuming the unit is faulty, since a loose connection or a pinched door sensor can be the cause. For general upkeep afterward, see how to maintain your microwave, and for a unit that runs but does not heat, microwave not heating. Our microwave installation and setup guide adds the general checklist, and Jenn-Air microwave repair is there if the install reveals a problem. You can book a visit at any point.