

A Jenn-Air refrigerator installation is where a built-in appliance either gets ten quiet years or a decade of small complaints. Unlike a freestanding unit that you slide into a gap, a built-in or panel-ready refrigerator becomes part of the cabinetry: it needs airflow the cabinet must provide, a water supply that has to be run before the surround is closed, and a door alignment that only matters once a heavy panel is hanging on it. This guide covers the requirements in the order they come up.
The opening comes first
Build to the dimensions in the installation manual for that model, and check them twice — a built-in that is a quarter inch too tight cannot be persuaded, and one that is loose leaves a gap no trim will hide. Confirm the opening is square and the floor is level and strong enough: these are heavy appliances, and a floor that flexes shows up later as doors that will not stay aligned.
Plan the surrounding cabinetry for the door swing you need. A refrigerator in a corner needs enough clearance for the door to open far enough for drawers and bins to come out, and that is a bigger angle than most people picture. It is far cheaper to discover this on paper than after the panels arrive.
Airflow is the requirement most often broken
Every refrigerator rejects heat, and a built-in one does it inside a closed cabinet. The manual specifies how air gets to the machine compartment and where it leaves, and the toe grille is usually the whole story. Trim that covers it, flooring that blocks it, or a decorative panel fitted tight to the floor turns the appliance into an insulated box that cannot dump its own heat.
The symptoms come later and look like a failing appliance: longer run times, a compartment that struggles in summer, ice production that falls off. Before any of that is diagnosed as a fault, the grille and the airflow path deserve a look — the same check that heads our guide on a refrigerator that is not cooling.
Water: run it before the cabinetry closes
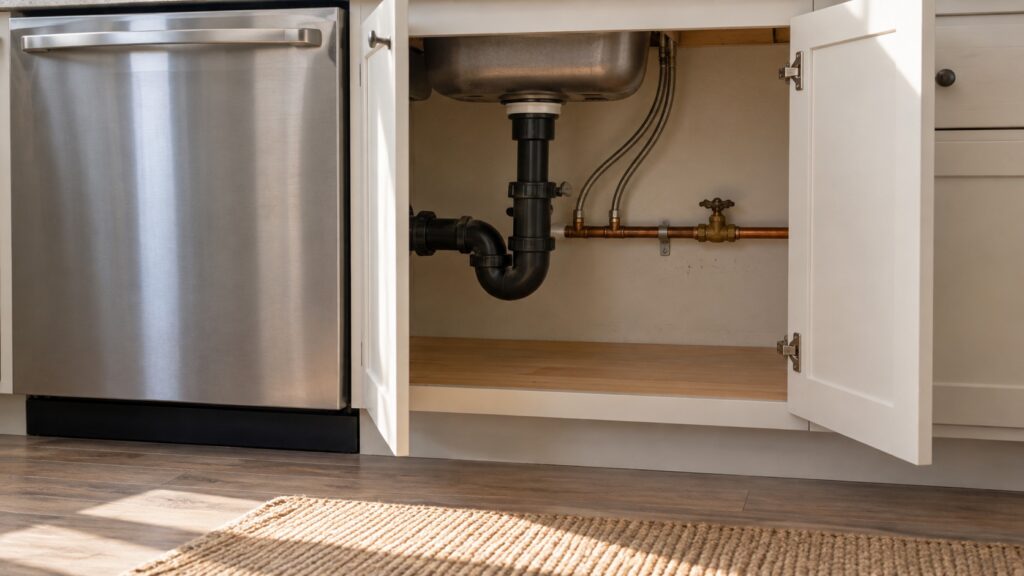
An ice maker and a dispenser need a supply line, and it has to be in place before the surround goes up. Use the line type the manual specifies, fit a shutoff valve somewhere a person can actually reach, and leave a service loop — enough slack that the refrigerator can be pulled forward a couple of feet without straining the connection.
Two mistakes cause most water calls on new installations: a saddle valve tapped into a nearby pipe, which weeps eventually, and a line run so tight that the first service visit kinks it. Neither shows up on installation day. Both show up as water on a kitchen floor two years later.
Panels, doors and the last inch
Level is the quiet hero in that table. A built-in refrigerator that is out of level by a small amount will not seal evenly along the gasket, and a door that does not seal produces exactly the frost, condensation and door-alarm complaints that get blamed on electronics.
Delivery deserves its own thought on a built-in. These appliances are heavy, tall and awkward, and the route from the truck to the opening — doorways, turns, stairs, floor protection — is part of the job rather than an afterthought. Measure the narrowest point on that route before delivery day, and agree who removes the doors if the appliance will not fit through as it stands.
Commissioning before anyone loads it
Give the appliance time upright before it is powered — if it traveled on its back or at an angle, the manual will say how long to wait. Then run it empty and let it reach temperature before loading food, which takes longer than most people expect on a large built-in.
Flush several quarts through the water dispenser to clear air and any manufacturing residue, and throw away the first two or three batches of ice. Set the temperatures to the recommended values, check the door alarms work, and confirm the doors seal on a dollar bill all the way around. Fifteen minutes here prevents the most common first-month complaints.
Keep the paperwork where the next person will find it
Write the model and serial number, the installation date and the water line type on a card and tape it inside a nearby cabinet. On a built-in appliance that information is otherwise buried behind a grille or a panel, and finding it is the first ten minutes of every future service visit. Then set a reminder for the water filter, and follow the routine in our guide on refrigerator maintenance.
Plan the first filter change before you forget the installation. A built-in refrigerator with a water line has a filter that wants replacing on a schedule, and the date it went in is the one piece of information nobody records. Write it on the card inside the cabinet with the model and serial, set a reminder, and the appliance will keep making clean ice and clear water without ever becoming a service call about taste.
When to call
Call when a newly installed refrigerator runs constantly or will not reach temperature, when doors will not align after panels are fitted, when water appears anywhere, or when you want the opening and the services checked before an expensive appliance is delivered. An hour of planning is cheaper than a cabinet rebuild.
We are an independent repair company and not a factory service arm. Pricing starts from a diagnostic visit, and we confirm the estimate before any work begins. Jenn-Air refrigerator repair covers sealed systems, fans, sensors, dispensers, ice makers and door hardware, and you can schedule a visit online.