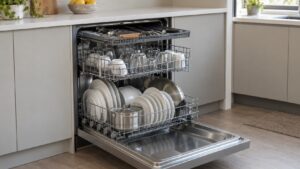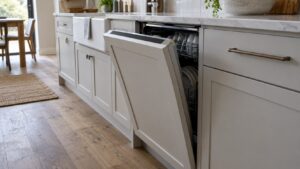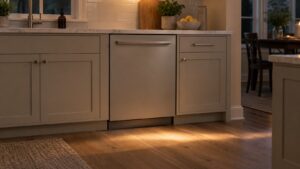
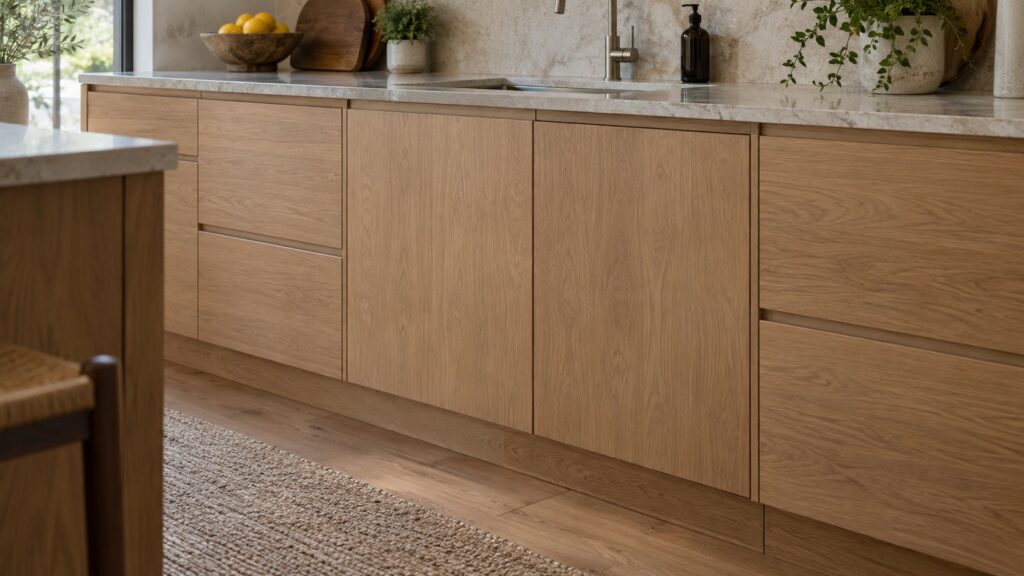
Jenn-Air panel-ready dishwasher panel installation means fastening a custom cabinet panel onto the mounting frame on the door of a panel-ready model such as the JDPSS245LX, after the dishwasher itself is in its opening. The panel has to be cut to the model’s frame dimensions and to a thickness the frame accepts, and it is attached with the brackets supplied with the dishwasher. This guide walks through the order of work, the measurements and decisions to settle before the panel goes to a cabinet shop, and the points where a panel fit goes wrong. It follows what our site says about the JDPSS245LX and panel-ready appliances; for exact dimensions, always use the installation instructions for your model.
What does panel installation involve on a panel-ready Jenn-Air dishwasher?
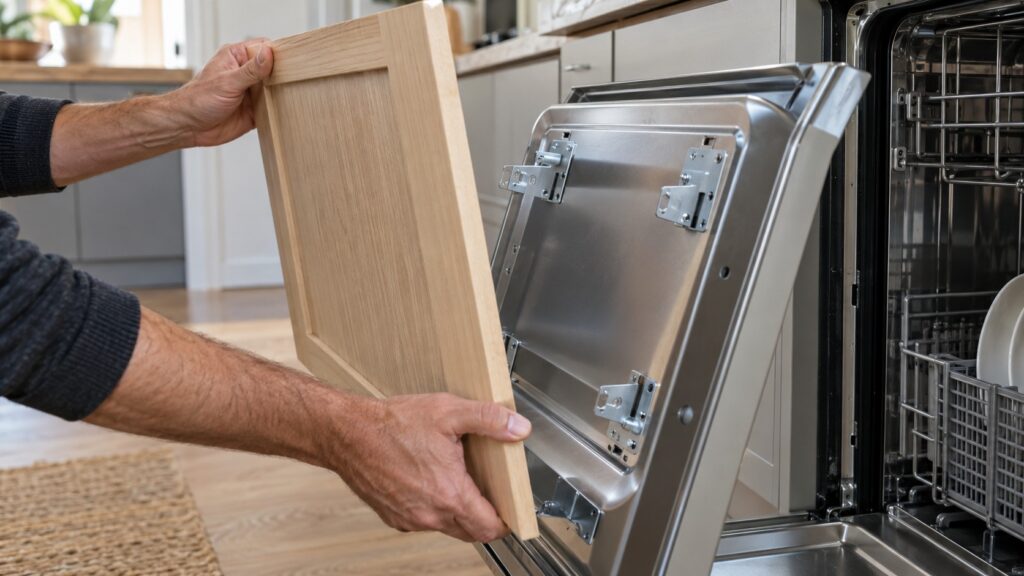
A panel-ready dishwasher leaves the factory without a finished front. Instead it has a mounting frame on the door with brackets and a defined thickness tolerance. Our panel-ready glossary explains that the appliance still has its own door, latch and hardware underneath, and that the panel is an outer layer fastened over that structure, not a replacement for it. Installing the panel is therefore a fitting job: the panel is hung on the frame with the supplied brackets, aligned with the neighboring cabinet doors, and adjusted until the reveal lines are even. Our JDPSS245LX buying guide covers the decision to buy one; this guide is the next step.
What should you settle before the panel is cut?
- Thickness. Confirm the panel thickness against the mounting frame’s tolerance in the installation instructions. A panel outside the tolerance can stop the door from closing and latching properly or from sitting flush, so do not guess.
- Dimensions. Give the cabinet maker the exact frame dimensions and bracket layout for the JDPSS245LX. Dimensions for another dishwasher will not transfer.
- Handle. Choose the handle style before cutting. A panel for an integrated handle is notched, and one for a surface-mounted handle is cut flat.
- Toe-kick. Some kitchens need a toe-kick piece to close the gap beneath the unit.
- Timing. Order the panel only after the dishwasher is in the room, as our panel-ready glossary advises, so the maker can work from the real frame and the installation instructions.
In what order should you install the dishwasher and the panel?
Water, drain and electrical connections are the same as for any built-in dishwasher, as our dishwasher installation and setup guide explains. What changes is the order. The dishwasher goes into its opening first and is connected and leveled. Then the panel is attached to the frame, adjusted until the gaps match the surrounding doors, and the handle is mounted last. Leveling matters: a dishwasher that is out of square makes the panel look crooked however carefully it is hung.
If you are not experienced with plumbing and electrical connections, have a qualified installer do the dishwasher itself. Switch the circuit off at the breaker and close the water supply before any connection work. Never reach behind or under the unit with the power on.
How do you fit the panel onto the mounting frame?
Use the bracket set and the template that came with the dishwasher. In general terms, the panel is offered up to the frame, the brackets are fastened to the back of the panel at the positions the instructions show, and the panel is then hung from the door frame and tightened. Do this with a helper, because a solid wood panel can be heavy and awkward. Do not drill into the dishwasher door itself, and use only the fasteners the installation instructions specify. The finished door is heavier than the bare frame, so the installation instructions for your model may call for an adjustment to the door; leave that adjustment to a qualified installer.
How do you get an even, flush fit?
Close the door and look along the cabinet run from the side. The panel should line up with its neighbors, with consistent gaps at the top, bottom and sides. If the panel sits slightly forward or tilted, loosen the brackets and adjust rather than forcing the door. An overlay panel sits on the appliance’s existing trim and can stand a little proud of the cabinet faces, while a true panel-ready frame is designed around the panel, as our glossary notes. Check that the door opens and closes smoothly, that it latches with a firm click and that nothing rubs the toe-kick or the neighboring doors.
What goes wrong, and when should you call?
The common problems are a panel that is the wrong thickness, a door that will not latch or close properly with the finished panel on, uneven gaps and a handle fitted into a panel cut for another style. A panel-ready front can add a step to service work, because the panel sits over the door structure. If the door drops open on its own, will not latch or the dishwasher leaks, stop using it and switch off the breaker.
Our Jenn-Air dishwasher repair technicians can check the door, the latch and the fit. We are an independent repair company, not a factory service arm. If you need help with a panel-ready model, book a visit and tell us the model number and what the panel is made of.